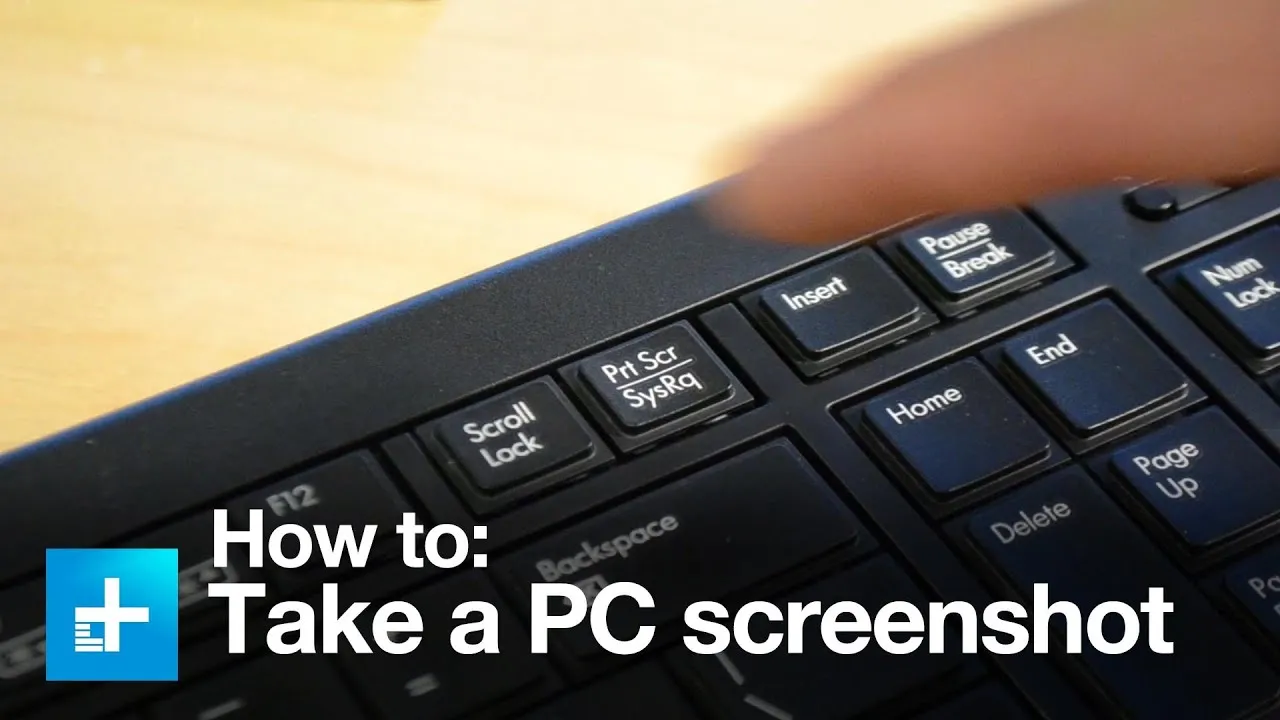
There can be many methods to capture a screenshot of your screen. This action becomes very useful when you want to save some piece of information or evidence. For example, it is important to make online transactions or allow website access to your system. A screenshot is like making a receipt.
On the latest version of the Windows 11 operating system, you can use various ways to take a screenshot. These ways may include simple keys from your keyboard or apps to help you edit it further. Taking the whole screen’s snap or a part of it requires you first to know how to do it.
By following the strategy below, you can master the different ways of how this process works. The methods involve Print screen key, Snipping tool, Snip, and Sketch application.
Also See: How To Enable TPM in Windows 11
How To Take A Screenshot In Windows 11
There are several ways to take a screenshot in Windows 11, including using print screen, snipping tool, and Snip and Sketch App.
By using print screen key:
Let us start with a simple way first.
- By clicking on “prnt scrn” button on the keyboard, the present screen and its contents will be copied to your clipboard. It is ready to be pasted on any app like word or paint.
- When you combine the Windows button with the print screen at the same time, the screenshot will be saved as a file on your internal memory.
- To locate this file, go to files and choose pictures with a folder named screenshots.
- To capture the screen’s active window, you need to press Alt and prnt scrn keys simultaneously. The copied image on the clipboard is ready so you can paste it right away.
- By tapping Windows, Shift, and S keys as a combination, the screen’s light will become dull. The cursor on the panel will turn into a pointer, and you can drag it to the portion you want to choose. The area you select will be copied and ready to paste.
By using the Snipping tool:
As a flexible screenshot option, the snipping tool can also cut the selective part from the whole screen. To know the ways to do it, follow the steps as under:
- Search for a snipping tool from the starting menu.
- You get to see “mode” in the drop down menu. You can choose the shape of the screenshot.
- When you click on the “new” option, the screen will freeze. This way, you can drag the mouse and create the screenshot in the snipping tool window.
- For choosing other options like a tooltip, waiting to take the screenshot, go to the delay menu.
- Drawing tools will help you automate the screenshot.
- Click save as from the File tab after you make the desired changes.
- Click on copy in the same window so it will be forwarded to the clipboard.
By using Snip and Sketch app:
- To enable this tool, tap Windows, shift, and S keys. A toolbar will appear on the top of the screen.
- The bar indicates 5 options starting from the left. They include rectangular snip, free form snip, window snip, full screen snip, and close snip.
- After selecting from these options and taking the desired screenshot, a popup window will appear.
- Click on that notification popup to open the screenshot in the app.
- Move the toolbar on the screen wherever you want it on the edges.
- You can also launch the app and modify its settings by pressing on prtscn or FN and prtscn keys.
- If the app is not working with the keys, go to settings and apps.
- Go to accessibility and choose the keyboard. Locate the print screen button to open the screen snipping tools you have onboard.
For taking the desired screenshot, one of these methods will work the best for you. It also depends on Windows to respond accordingly since the system configurations are the same.

